9 Visual Art 2
Section outline
-
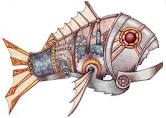
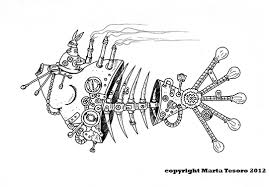
 Steampunk Fish Sculptures
 .
. Your challenge….
I want you to take risks, think ‘outside the square’ and have a go at creating a sculpture of a fish with a robotic /steampunk feel. There will be some criteria to follow but you need to do lots of drawing and planning and practising with materials before you create your final sculpture
-
This assessment will determine your level of ability to follow a process from planning to making and completing a fish sculpture. It will also determine your level of ability to use the skills and techniques necessary.
-
-
Learning Intentions"
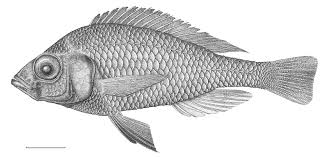
- We are learning to draw from observation focusing on accuracy and correct proportion.(Practical Knowledge)
- We are learning to annotate around our drawings to give extra information for planning purposes (Developing Ideas)
Success criteria
- Your workbook will have detailed drawings of three fish shapes. They will be shaded to look three-dimensional and show as much detail in the fins and body structure as possible.
DUE END OF WEEK 2
Example
 .
.  .
. -
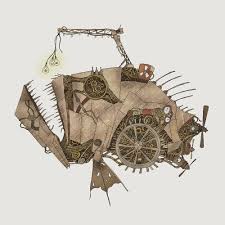
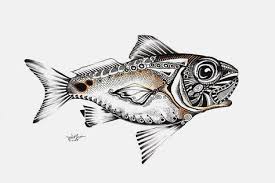
How do we get from this to this?
Steampunk art
Steampunk is an art, fashion and culture movement inspired by the industrial revolution. ... The steampunk aesthetic combines imagery from the industrial era—machine parts like cogs and rivets, clockwork, and laboratory equipment—with Victorian art and design and futuristic concepts such as robotics
Steampunk was originally a literary genre, a subset of science fiction, with the first authors of the genre considered to be Jules Verne and H. G. Wells.
A robot has these essential characteristics:
Sensing First of all your robot would have to be able to sense its surroundings. ...
Movement A robot needs to be able to move around its environment. ...
Energy A robot needs to be able to power itself. ...
Intelligence A robot needs some kind of "smarts."
 ...............
We are learning to
- Investigate the art style of steampunk to inform help our creativity . (Communicating and Interpreting)
- Use our knowledge of steampunk art to create ideas for a fish sculpture (Developing Ideas)
Success Criteria
- Using the provided resource on Steampunk art, create a workbook page which outlines the main points about the art. You should have a mixture of facts and images on your page. The images don't have to be fish but examples of the steampunk style.
- You will show drawings which begin to morph realistic outlines of fish shapes into a robotic/steampunk style of drawing.
-
We are learning to:
Create the framework and decorative techniques for our robotic fish
To Do:
You should be now beginning to think about the final decorative techniques you need on your fish. Most of the outer layer should be complete and you should be solving the problem of how to make it look futuristic and robotic in your drawings and final plan.
You should have a final plan that is a detailed drawing of your fish and how it will hopefully look. List the materials you will use.
-
We are learning to:
Create a sturdy structure for our fish using a selection of building materials.
To Do:
Whether you have selected, wire, cane, used a plastic bottle and adding on to it, your sculpture for the first layer should be secure and sturdy. There should be tidy joins and neat workmanship to build the first layer.
-
We are learning to:
Create the framework for our fish and begin covering the outer layer with paper mache or the planned finishing of our design.
To Do:
Complete all of the framework and begin the outer layer of your fish. Check that your structure is sturdy before starting this stage of the process.
-
We are learning to
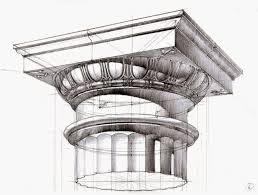
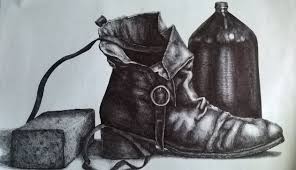
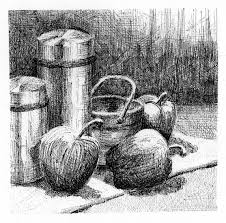
Practise our observational drawing and demonstrate a variety of shading techniques
To do:
Watch this you tube video to help you practise your shading techniques. At the end of the video there are some suggested examples for you to work on. Have a go at completing the tasks and show the evidence in your visual diary.
-
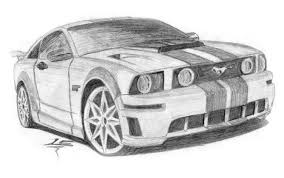
We are learning to
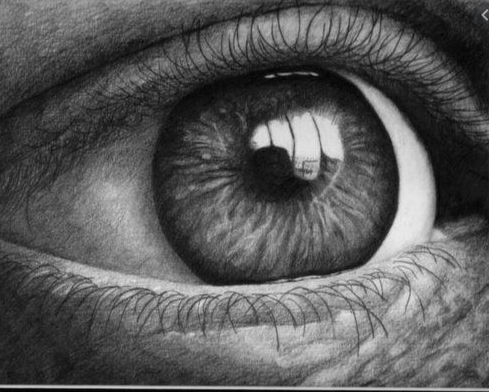
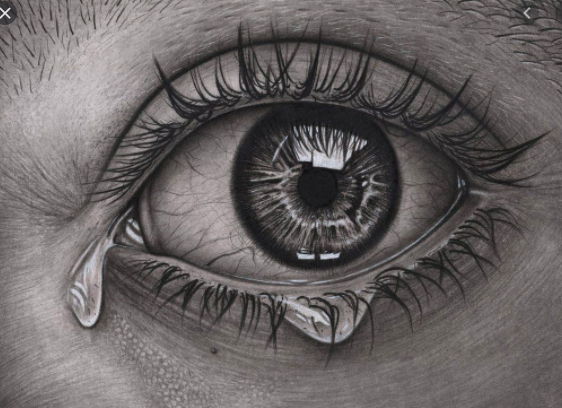
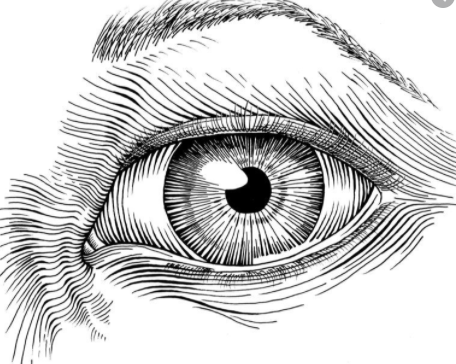
Practise our observational drawing using a variety of drawing mediums
To Do:
Select a pencil drawing of an eye and a pen drawing of an eye from this group of images and copy them as accurately as you can in your visual art diary.

 .
. 
-
LOCKDOWN WORK
We are learning to :
Follow instructions to complete a photograph activity
Be creative in finding interesting shapes to photograph for an alphabet.

To do:
Follow the instructions you have been given on GOOGLE CLASSROOM sessions to create a 26 letter alphabet.
https://drive.google.com/open?id=1sDnMzX-mct0Mz6i_9kvCmjE-2ROSHbA2UpDj2_GmB34&authuser=0
-
We are learning to create a secure and tidily joined armature of a fish shape.
A secure structure that has tidy joins and resembles a fish is the goal for this week. Learn from others, give advice to others if you are able to complete a technique successfully.
-
We are learning to create a secure and tidily joined armature of a fish shape.
A secure structure that has tidy joins and resembles a fish is the goal for this week. Learn from others, give advice to others if you are able to complete a technique successfully.
-
We are learning to create a secure and tidily joined armature of a fish shape.
A secure structure that has tidy joins and resembles a fish is the goal for this week. Learn from others, give advice to others if you are able to complete a technique successfully.
-
We are learning to add the decorative finishes to our fish
To Do
After you complete adding the detail, cover your fish in one layer of paint. Ensure that you give it an even coverage and take the time to get the paint brush in the cracks and crevices.
-
Hi everyone
Unless you have structural work to complete on your fish there is to be no making or painting today until I get back.
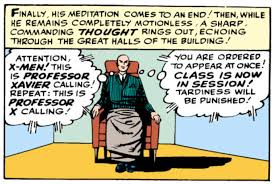
Sooooooo, you task is to research the artist Roy Lichtenstien. I have made a small display of his work on the white board.
In your Visual art diary or on a google doc, create a fact page about him as an artist.
https://www.nationalgalleries.org/art-and-artists/features/roy-lichtenstein-learning-resource
Use this link to write about his life, why he was an important artist, describing the type of work he was famous for, how he created it. Add some other interesting facts that you find and also if you don’t print some examples of his work on your page, copy and colour an example.
-
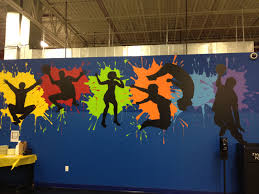
 Your pop art challenge
You are to create a composition that reflects the pop art style of Roy Lichtenstein.
It will be a painting
Your composition will have the following criteria:
- It should like a comic strip section
- There should be a silhouette of a student/s in your work (make sure it is the silhouette of a Middle School student age)
- Objects could overlap
- Objects could disappear off the side of the page
- The colours are restricted to yellow, blue, red with black and white.
- There should be an element of the schools values somewhere on your work (this could be in the form of text or the image may show it.
NB: This week we are in the planning stage so you should have several drawings in your visual diary. Don't just be satisfied with the first attempt as there are many possibilities to experiment with on how your work could look. What does it look like in a square? A thought bubble? A rectangle?
-
 .
.  .
. 

-
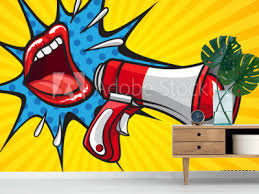
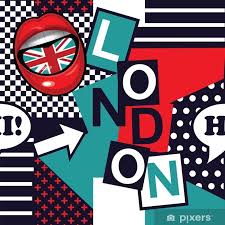
We are learning to incorporate text into our composition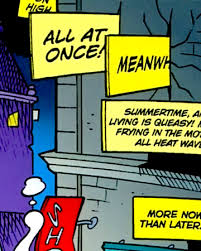

-
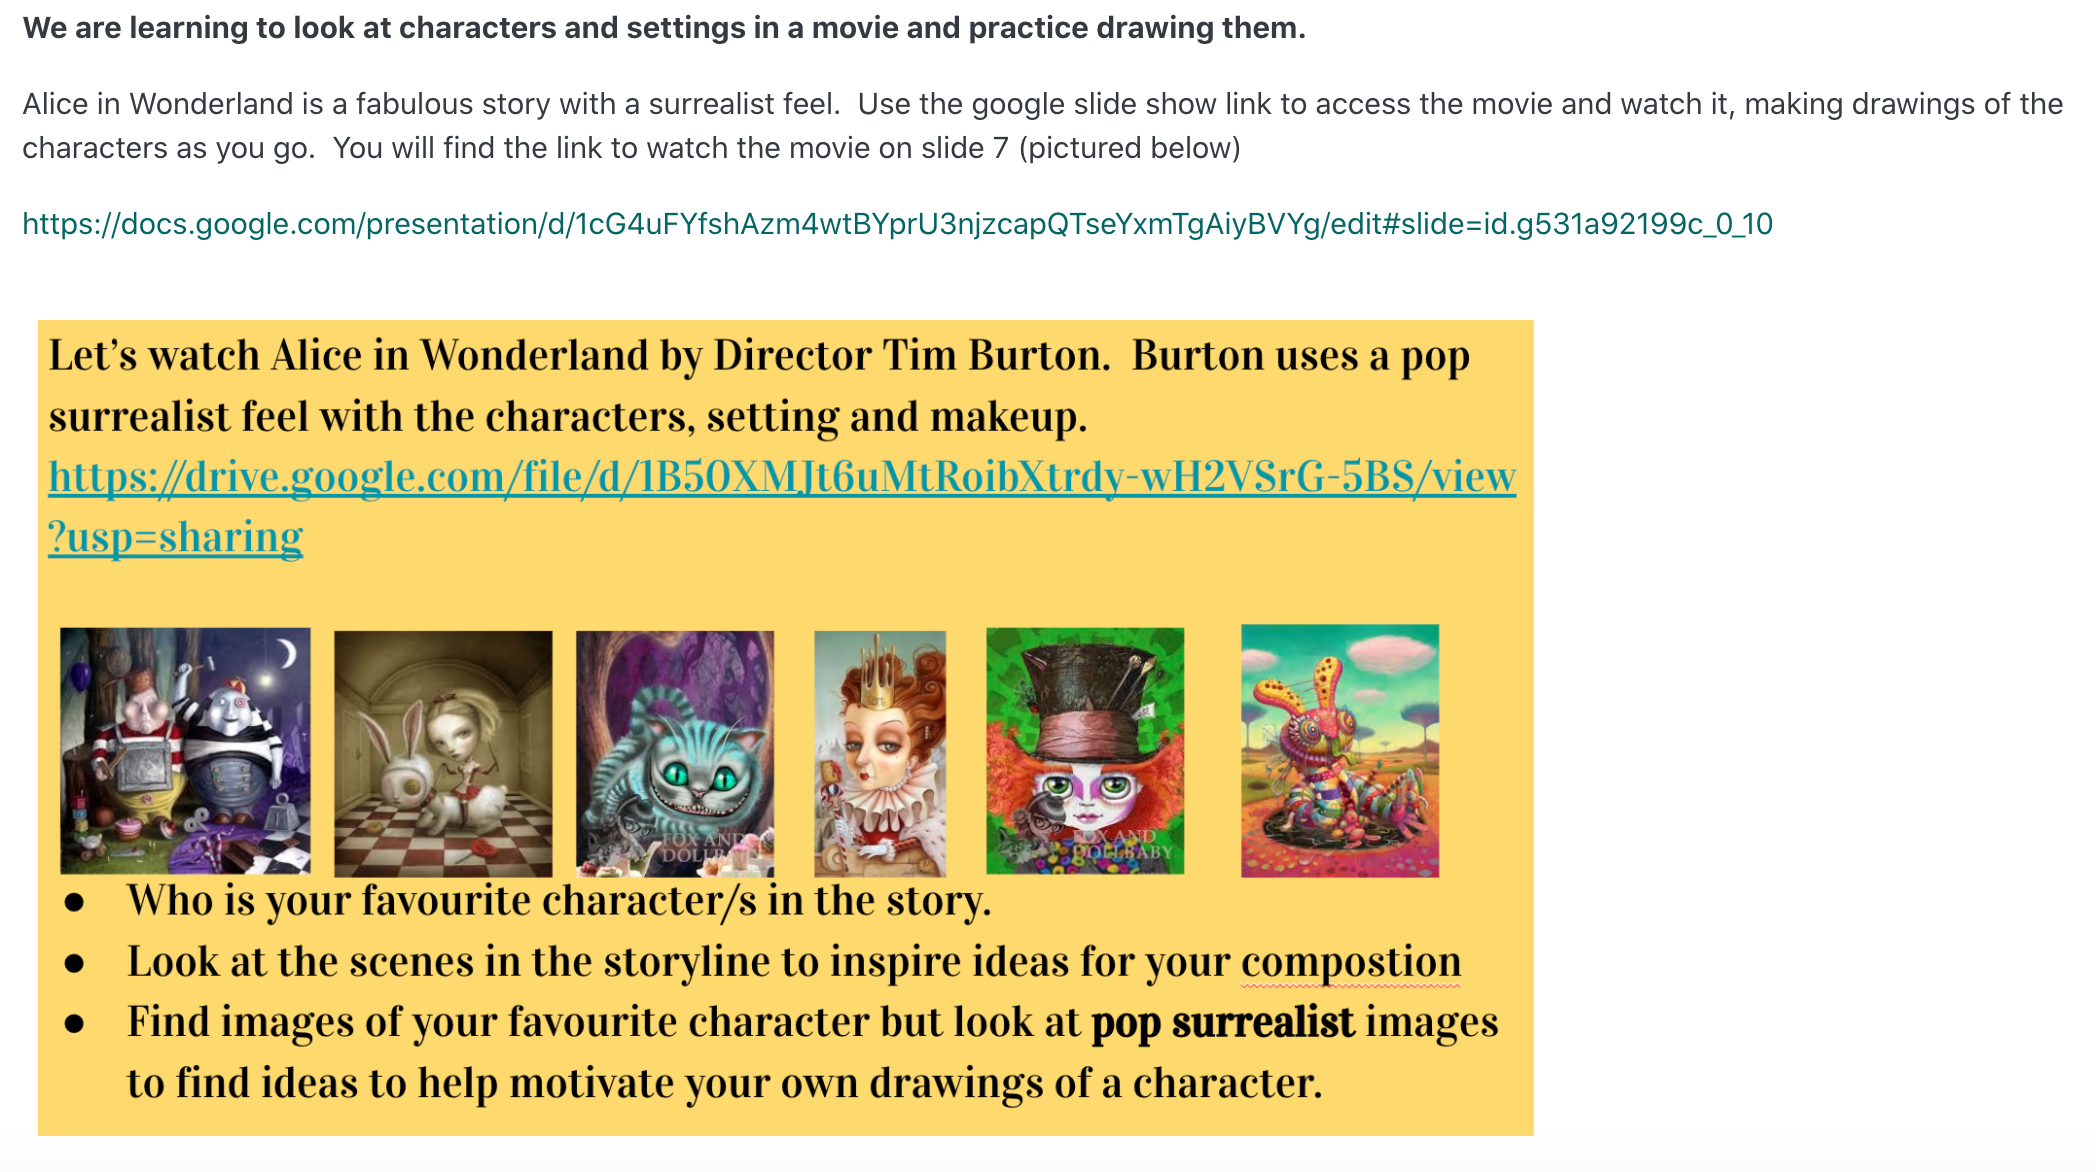
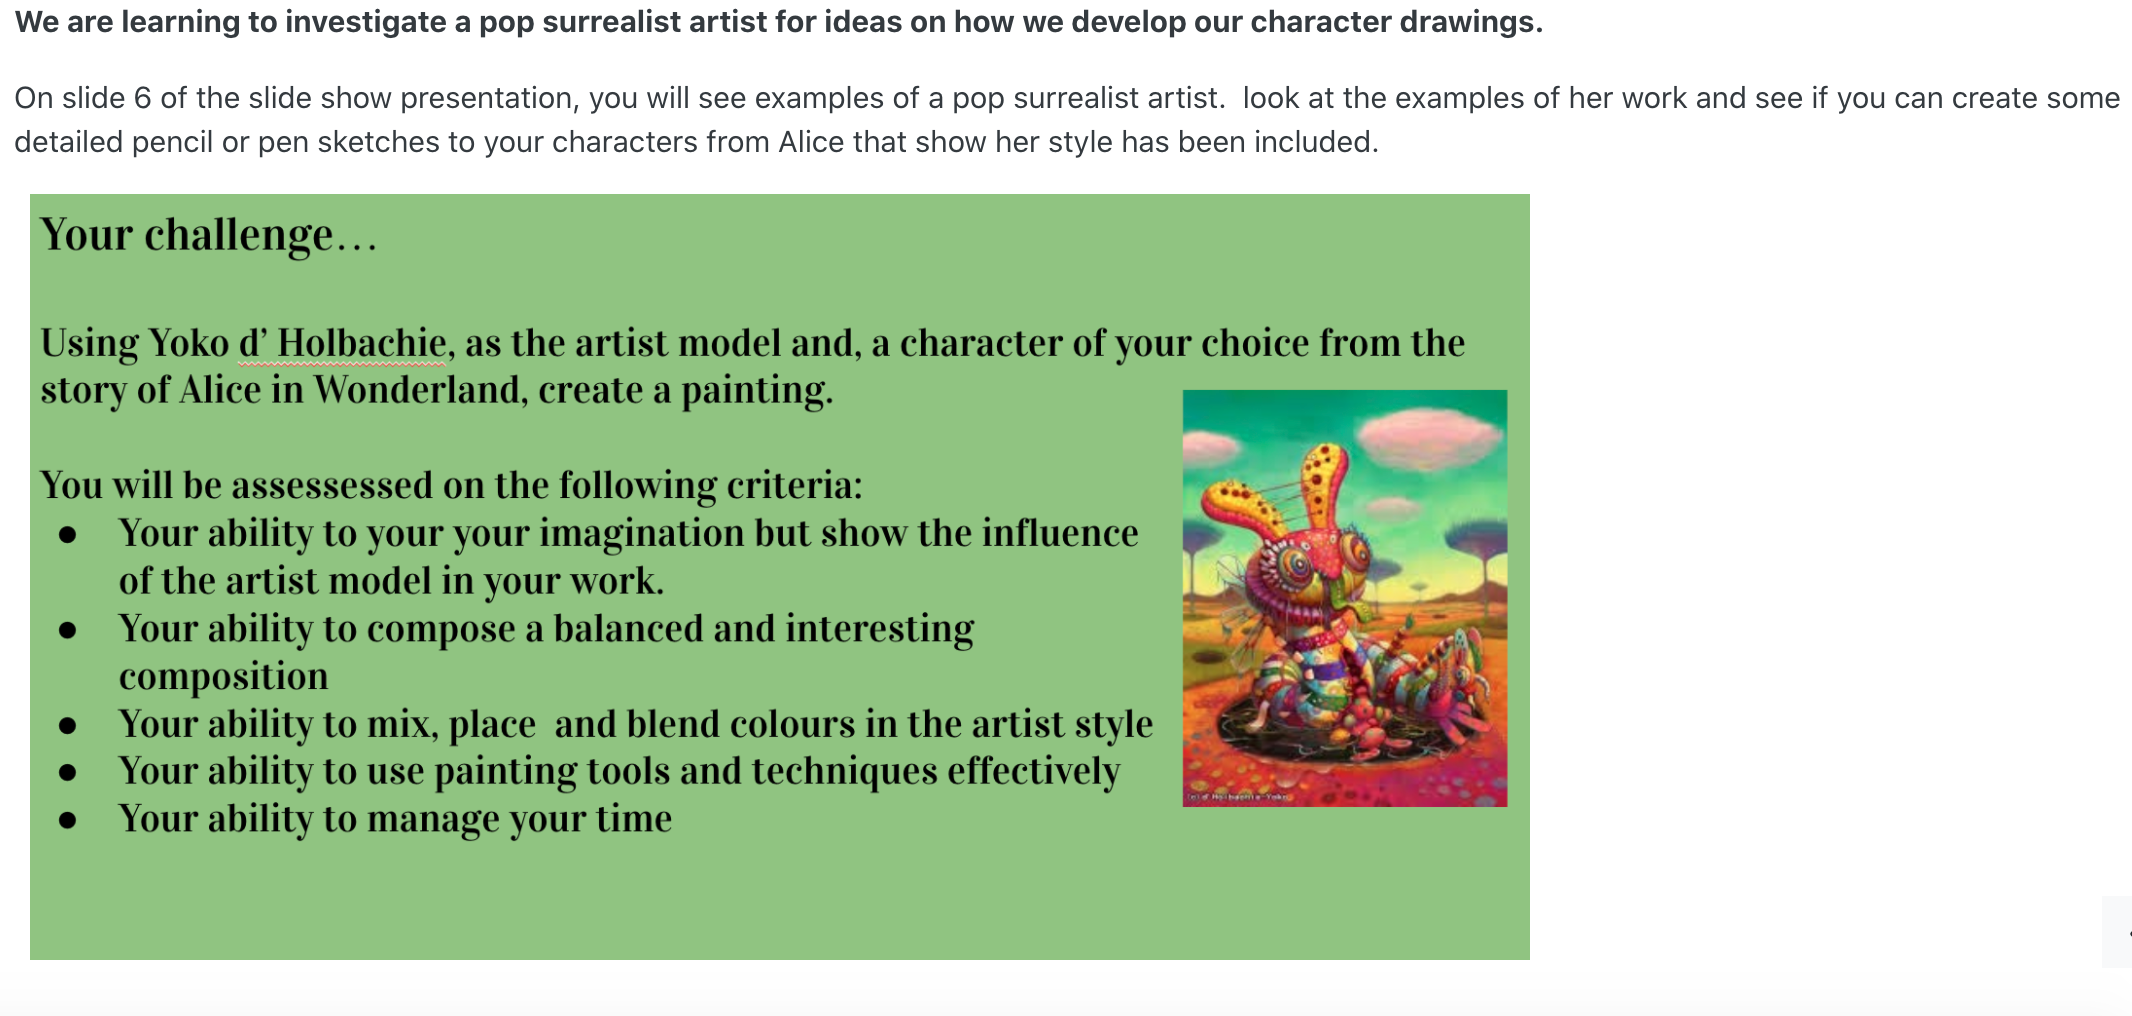
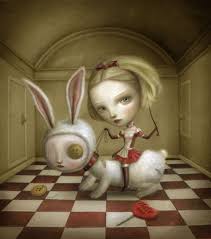
Surrealism meets Pop Surrealism
-
Keep working on developing your Alice in Wonderland characters so that they look more pop surrealist. Imagine the setting behind your character.... try to think about making it have some graffiti styles.
Extra for wet days....
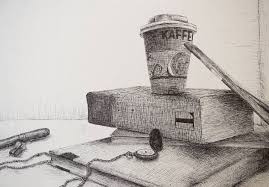
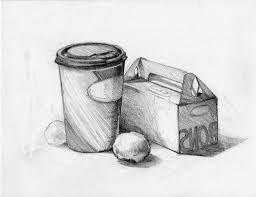
We are learning to practise our observational drawing using a pen or pencil.
 .
. 
Show correct proportions and accuracy of form?
Show correct shading to demonstrate a consistent light source?
Practise one of these drawings to show me that you are observing form carefully. Keep your paper safe so that you can paste into your visual art diary.
-
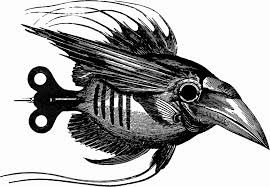
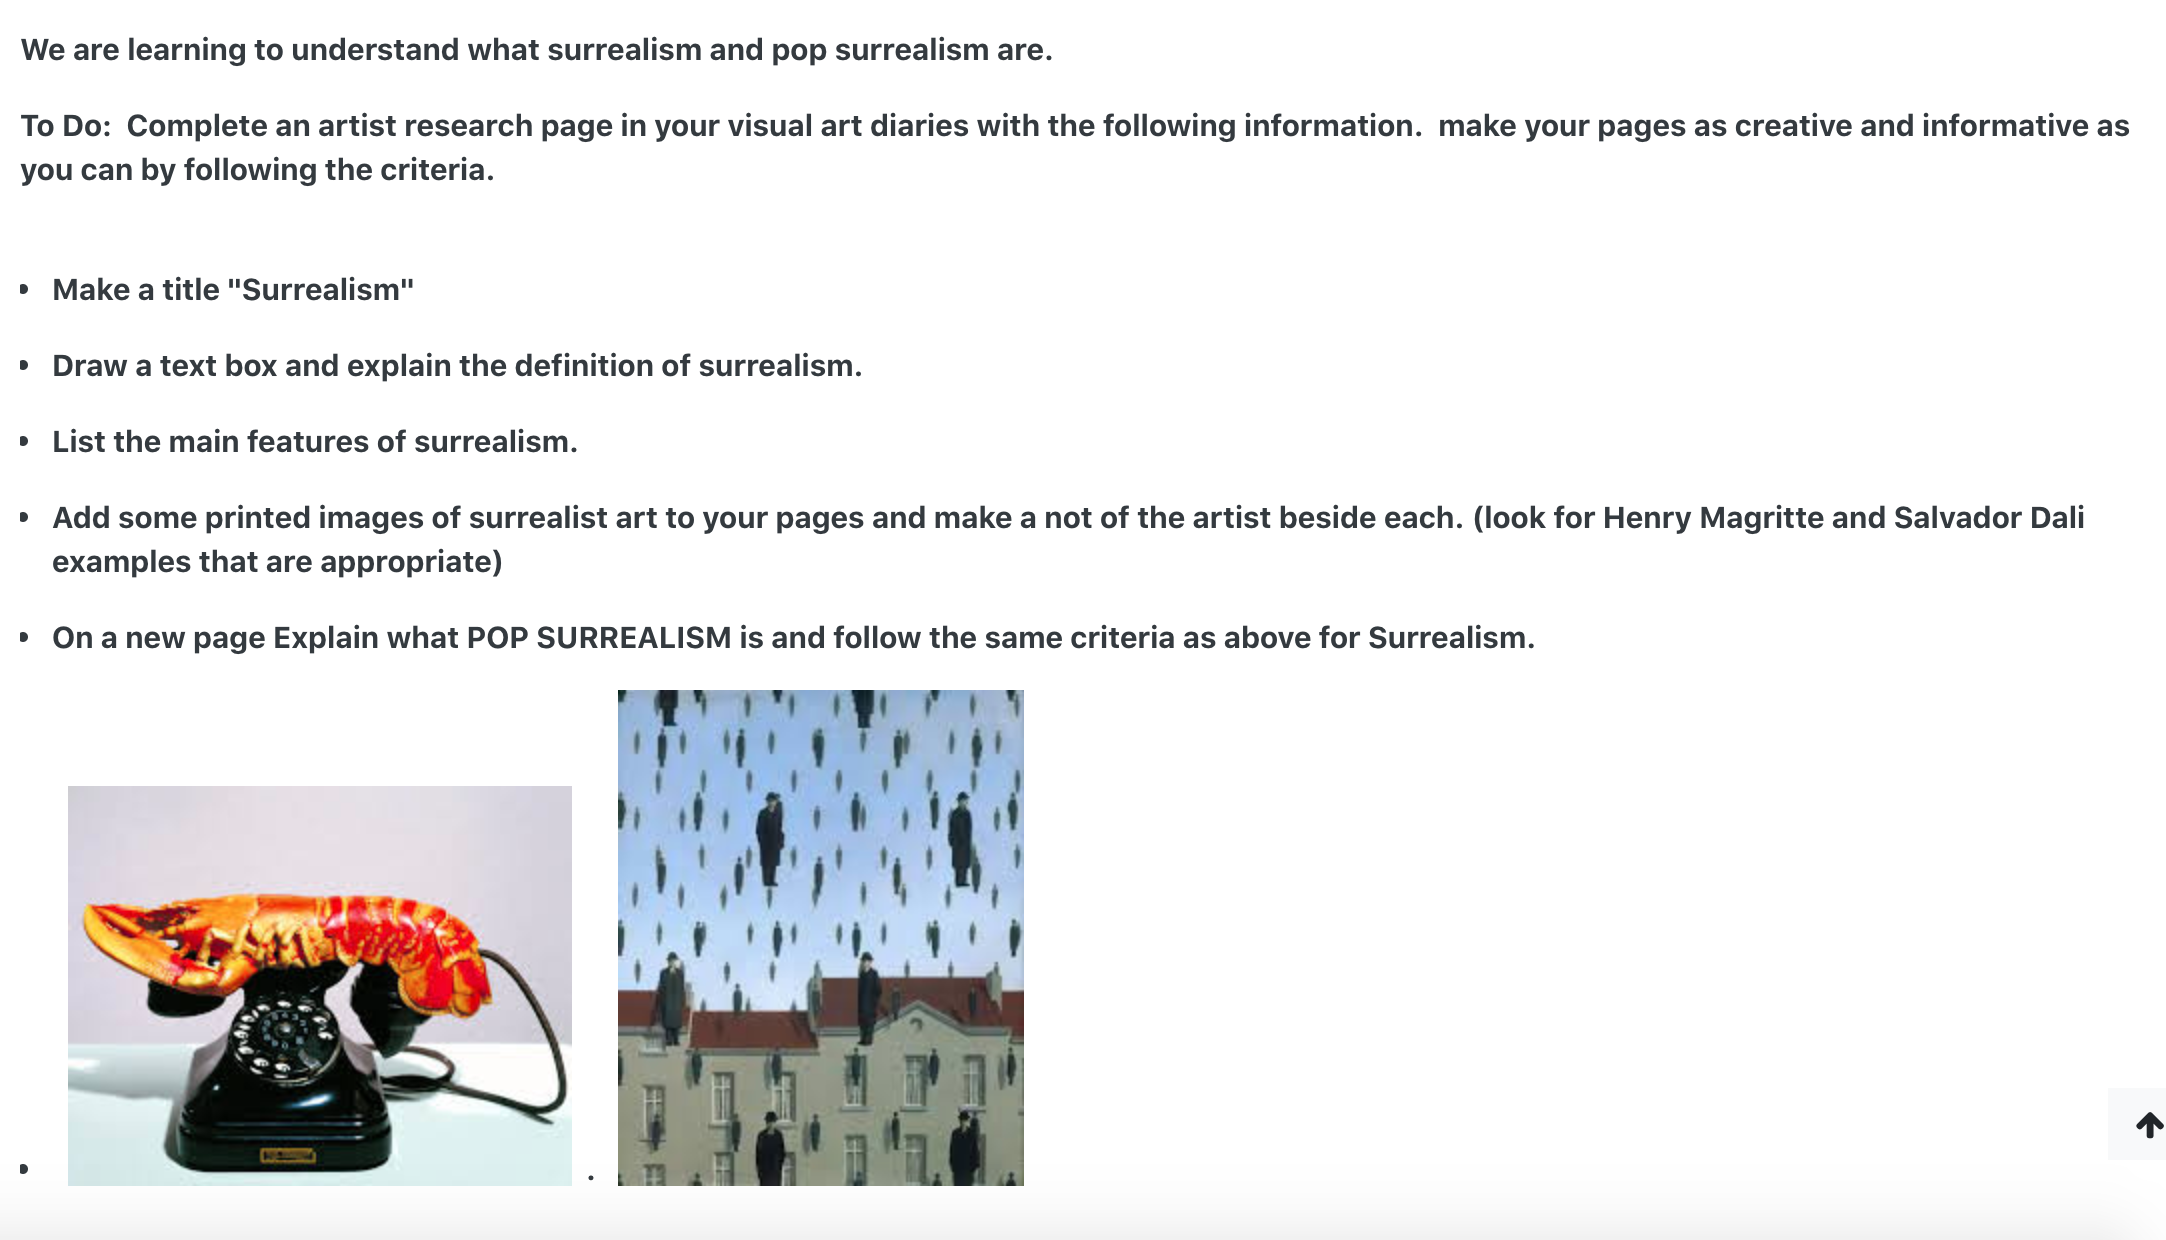
We are learning about different types of features that a surrealist art work may have.
Watch this video on an artist call Redmer Hoekstra. He loves drawing objects that morph into other objects. He also likes drawing just quirky and out of the ordinary images.
Your mission....
Use one of his ideas to draw or use your imagination and see if you can morph your own two objects together. You might like to try practising and playing around with Alice in Wonderland characters.
-
 .
.  .
. 
 .
. -
 .
. 
 .
. 
-
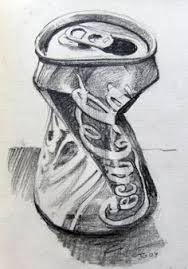
We are learning to show form and shading using pen techniques
Watch these videos to help you with your pen drawings. I found them really helpful when I was learning how to use different techniques.
-
Let's get started... Some skills and knowledge experiments
Learning Intention: This week you will have a week of practising to mix colours and practise different techniques such as blending and dry brush.
To Do
Watch this video BEFORE you start playing with paints
1. In your Visual art diaries head up a page titled "Paint mixing and Colour Theory"
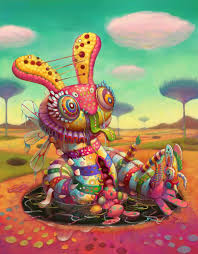
2.Choose three colour samples that you like. using only the colours of blue, yellow, red, black and white, practise mixing colours until you create the perfect match. Glue these into your book and be sure to add to the drying rack at the end of the session.
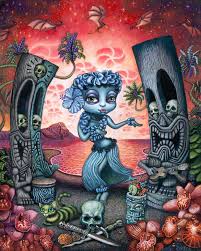
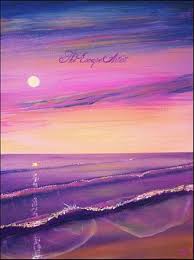
3. Now..... Look at the example of the painting above and in particular, the background. Using the 'Global' colour range of paints that we have, practise mixing and showing the colours of the pink clouds, sky background and ground colours on the same page as your previous colour mixing.
-
Planning your painting
Learning Intention: Preparing the background of your paper and building up images
Last term you were asked to practise drawing and refining a character from the story of "Alice in Wonderland". It's time to begin painting that composition. I'm going to use the cheshire cat and give him a 'Hawain' feel like this print below.
 .
. 
To Do:
1.Think about the colour scheme in the background of your painting. What sort of mood are you trying to convey?
2Divide your background into two or three areas. i'e..a sky and ground or structure, ground and sky or just internal walls of a room. Mix up light tones of the paint colours you require for each section and paint a base layer.
3Work over those layers with dry brush or blending until you get the desired finish.
4Draw your characters over the top of the background
NB: If you paint a very dark background colour your character will have to be pencilled in first as it is often harder with acrylic paint to paint over darker colours.
-
Building up images and interest
We are learning to layer up over our painting and create more images and interest to the composition.
To Do:
Questions to ask yourself....What other objects do you want in your work? Plants, building structures, other characters, objects of interest?
Draw these and and begin painting them.
Keep thinking about balancing the colour around your composition. In this example the grey base colour for the objects is a nice contrast to the pink background but it is balanced throughout the composition. The colour scheme is also pretty limited with the colours. This helps it to look balanced.